Condition Photos
Condition photos show what an item looked like when it went out on an order. An inventory item's photo shows the item at its best, but the piece going out might have scratches, dents or other wear. If it comes back in worse shape, compare it against the condition photos to see what changed. Condition photos are also useful for proving that an item left in perfect condition.
Each line item has its own condition photos, so they don't change the inventory item's photos on your website.
Adding Condition Photos
Open a line item and click or tap the Upload images dropzone under Current Condition Photos:
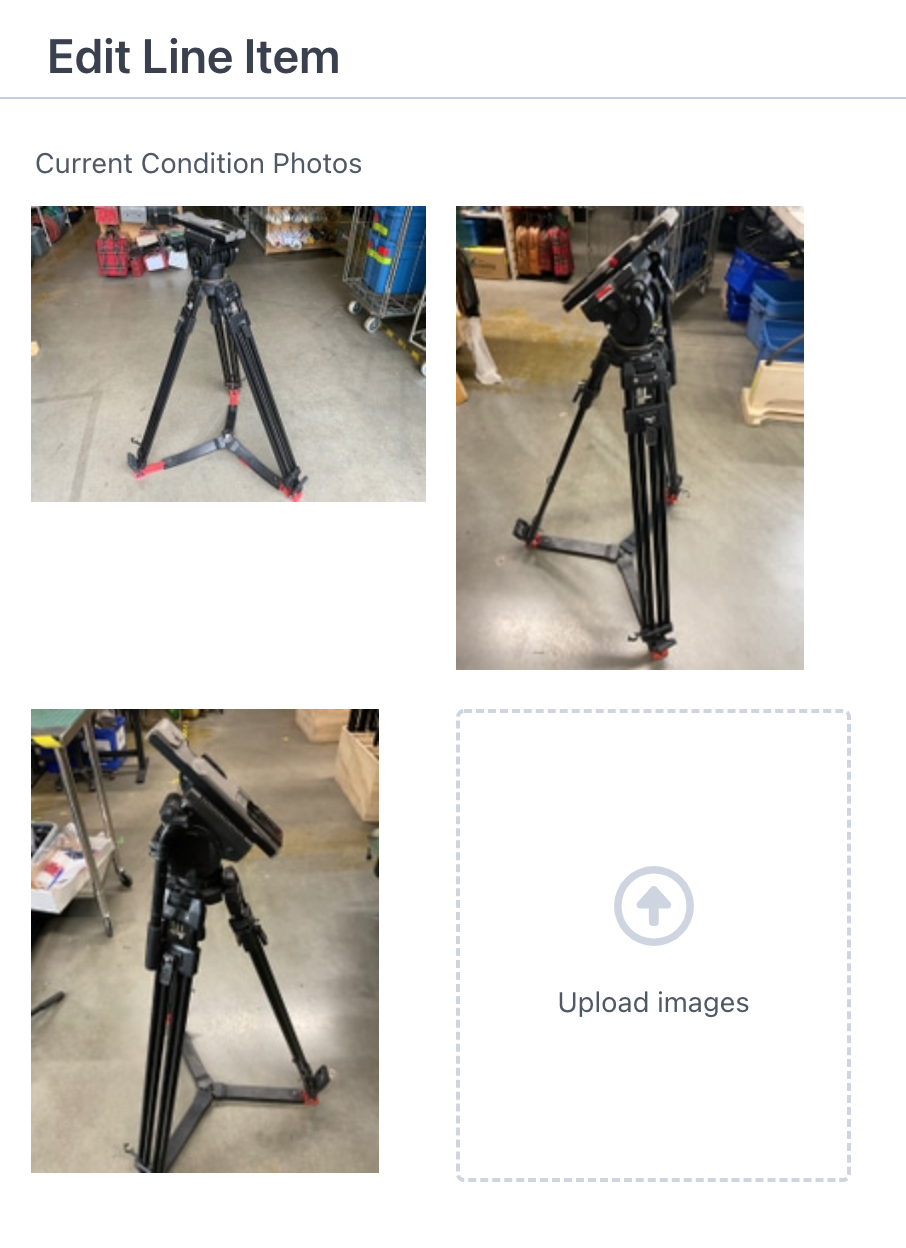
Click the expand button on any photo to view it full size.
To remove backgrounds from new condition photos automatically, turn on Erase Backgrounds on Line Item Condition Photos in your Line Item Settings. See Photo Editing.
The First Photo Appears on Paperwork
The first photo in a line item's list replaces the inventory item's photo for that line item on all PDF paperwork, and in the Quote, Checkout Sheet and Outstanding Items emails. Drag a condition photo to the front of the list to make it the line item's photo.
Emails with Every Condition Photo
These emails show all of each line item's condition photos in the body of the email:
- Pickup Sheet: open the order's paperwork menu, then click Email under Pickup Sheet.
- Selected line items: select one or more line items on the order, then choose Email Selected Line Items from the bulk actions menu.
Customers can click any photo in the email to see it full size.
Customers Can See Condition Photos on Your Webstore
When a customer signs in to your webstore, goes to My Orders and opens an order, they can open any line item to see all of its condition photos.
Restoring Deleted Condition Photos
If a condition photo is deleted by mistake, open the line item's menu and choose Restore Condition Photos. Click a photo to restore it, or restore them all at once.